


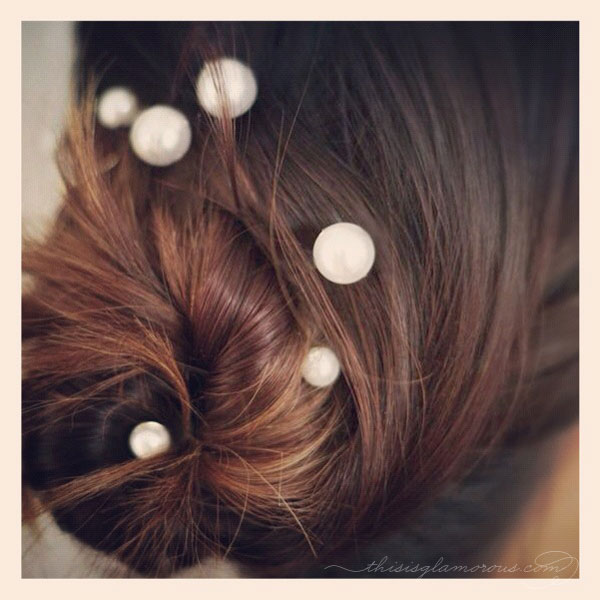
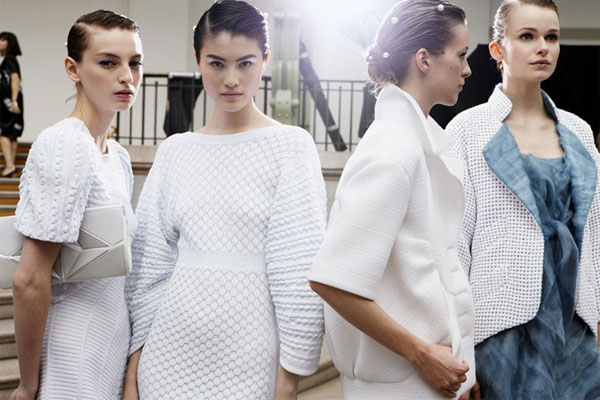
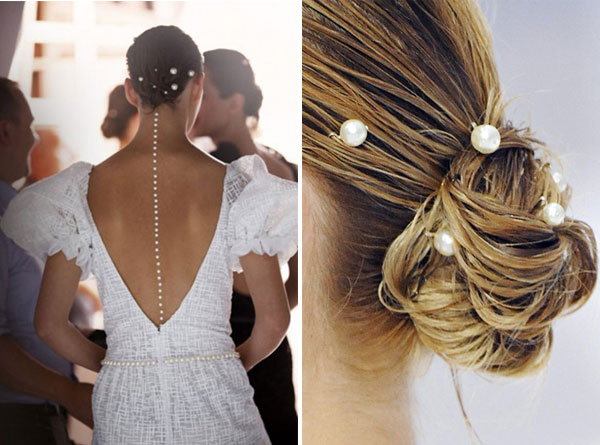
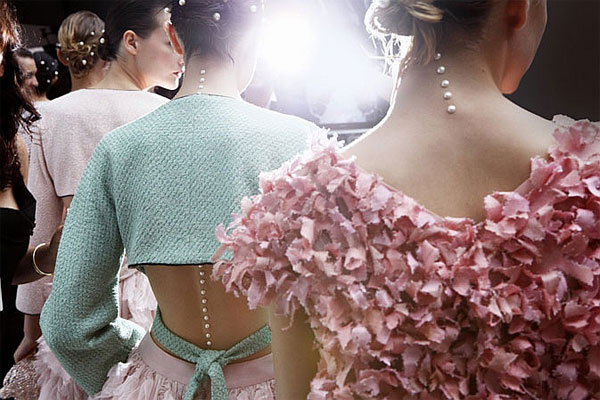
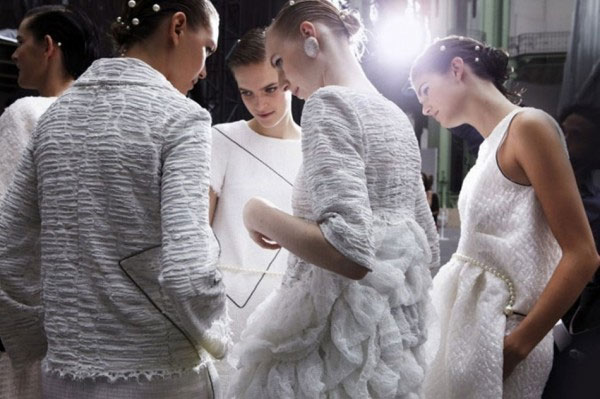
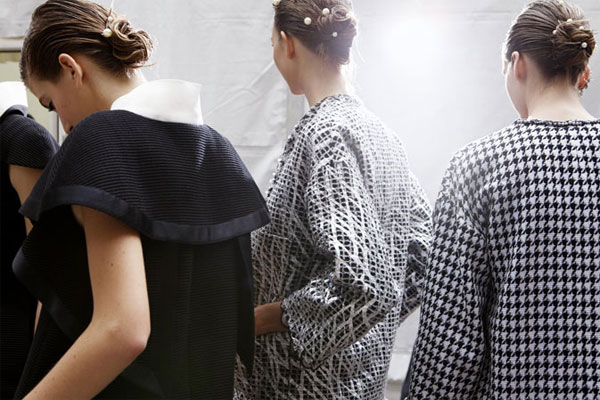
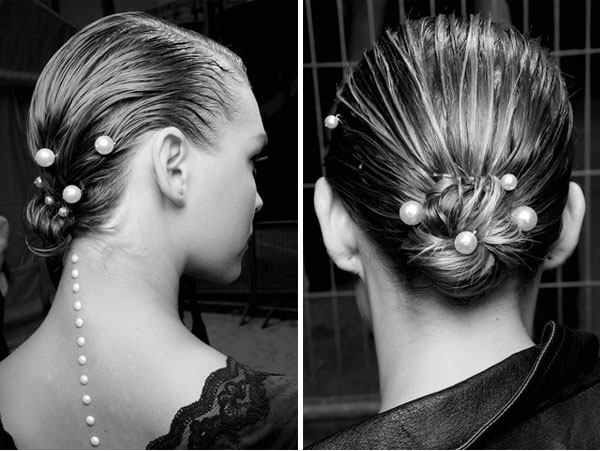
. . . when the chanel spring 2012 ready-to-wear collection graced the runways of paris, there was a collective gasp at the magic underwater kingdom created by karl lagerfeld -- there was lightness and seashells, but most astonishingly lovely, were the iridescent pearls glistening from chignons and following the curvatures of necks and down plunging backs . . .

. . . and after happening upon a few beautiful backstage photos of the show recently, a few golden hairpins laying about on the dressing table, and some pretty pearl beads were all the inspiration necessary . . .
[how-to instructions below] x


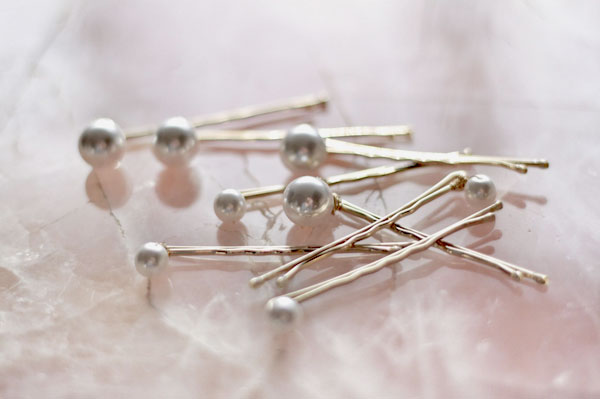
. . . and so, below, how-to instructions, using little more than a few simple tools and items from a craft or bead shop, and a little creativity, to recreate chanel's enchantment under the sea . . .


{you will need:}
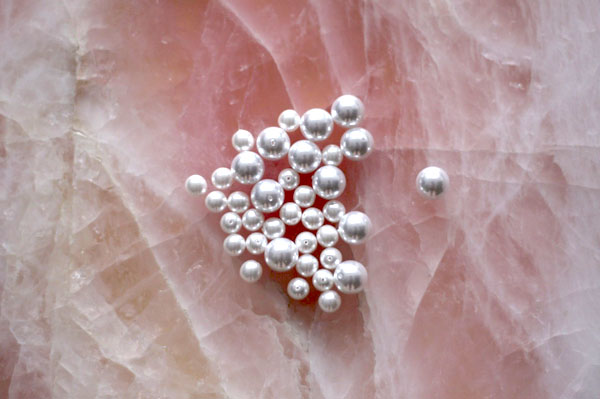
* pearl beads for making necklaces [here, two sizes used]
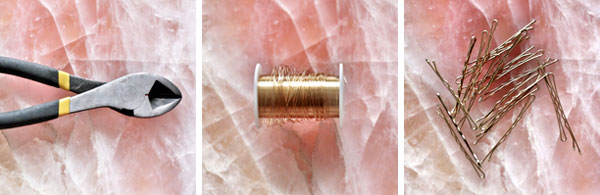
* wire cutters
* fine gold wire [here, 28 gauge used]
* golden hairpins/bobby pins
* glue gun
* [needle-nose jewellery pliers might also be useful]
HOW TO : MERMAID PEARL HAIRPINS | steps

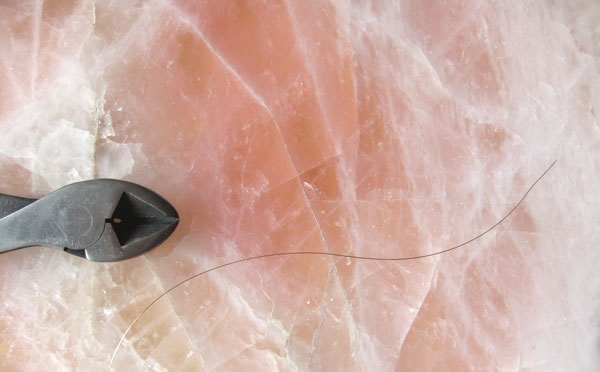
01 | using the wire cutters, cut a length of gold wire, about six inches

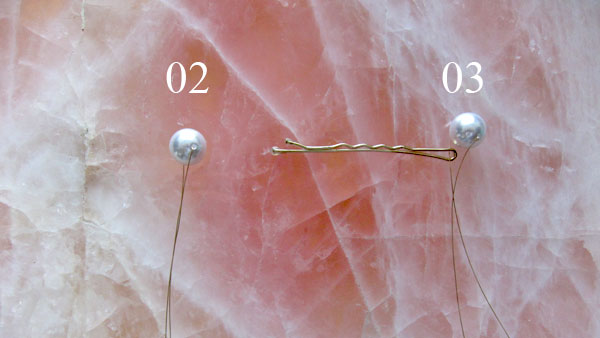
02 | thread one end of the wire through a pearl bead, to the mid-way point, then fold the wire in half
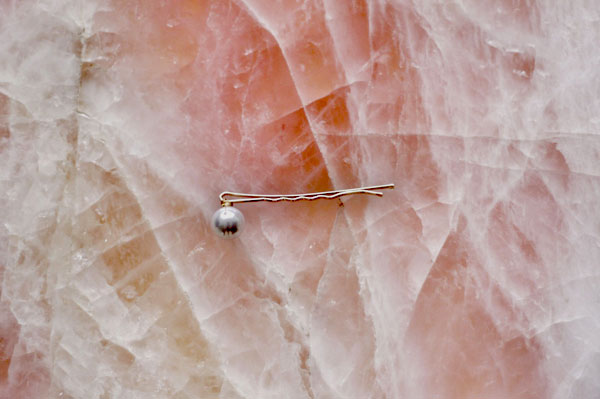
03 | thread one loose end of the wire into the end of the hairpin, centering the pearl to the top

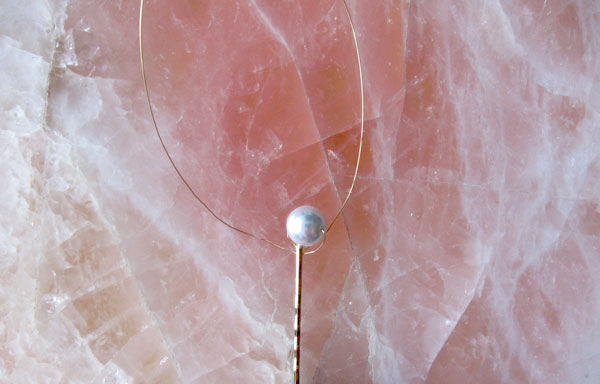
04 | affix the pearl bead to the hairpin by carefully & tightly wrapping the gold wire, alternating ends [above] -- this step can be a little tricky, requiring dexterity and a little patience; continue wrapping the wire ends around the hairpin until the pearl is secure
05 | once the pearl is secure, snip off the extra wire with the cutters and bend the wire ends toward the base of the pearl; add a drop of hot glue to hold everything in place and to prevent any sharp ends
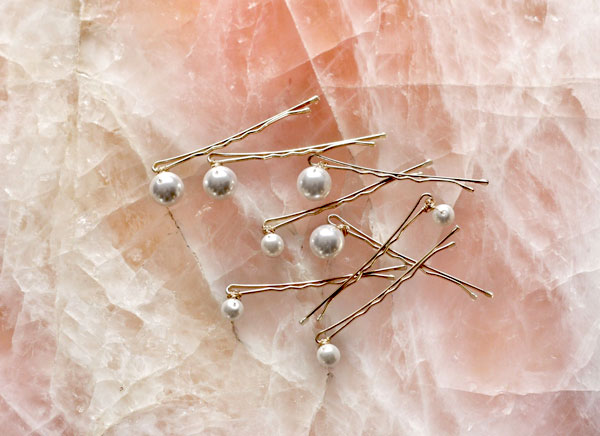
06 | and you're finished! continue with the next, making as many mermaid hairpins as you wish

07 | pull hair into a relaxed chignon, and place mermaid pins randomly about, alternating between pearl sizes for a romantic & pretty updo that is as perfect for the office, an afternoon at the flower markets, or dinner reservations for two . . .

[images: style.com /// tope /// lolita abraham ///refinery29 /// cool & chic style fashion /// the 16th bar /// how-to images, photography by p.f.m & roséline for {this is glamorous} /// how-to instructions by roséline for {this is glamorous}; above, roséline's chignon, photography by p.f.m]


18 | pensées, des commentaires & des notes:
Oh, I LOVE this! Perfect for my messy buns. Totally trying it and thank you for sharing. :)
♥ sécia
www.petiteinsanities.com
Just gorgeous Roséline!
xxx dj
How wonderful! Cannot wait to make my own-- thank you for such a lovely tutorial! xx
Such a beautiful look and what an amazing DIY, the result is stunning!
http://styleservings.blogspot.com/
DREAMY.
This Chanel collection is divine! Cool presentation! :)
really love this DIY!
xx christine
seoulandpfassion.blogspot.com
Beautiful tutorial! I cant wait to try this out sometime very soon. Thanks for giving us such detailed instructions as well. :) x
Just amazing, especially on the back.
Hello.
Wonderful post. I love it. And i will try...
Kisses from Portugal.
What a great DIY! And the inspiration shots are lovely. Thanks for sharing
Looks lovely and so romantic!
Great idea, thank you for sharing it!
Looking forward to your upcoming posts!
Have the best Sunday!
Big hugs!
Inés
SimplyClassyMe.blogspot.com
Fabulous thanks so much such a simple but effective idea, cant wait to try!
Oh you absolute gem! I was actually going to DIY this myself (powerless against Chanel adornments, pearls, and mermaid whimsy), but was wondering how to deal with the afixing part. Going to do this next weekend now!
Briony xx
What a cute DIY. Love the pink color. Chanel's collections is justt wauwww.
x
cherryfactor.blogspot.com
simply lovely <3 I was going to try this with a glue gun, but this seems a bit less messier. And also, will try with black hair pins. I'm not sure how the gold pins will look on my black hair.
hugs from Puerto Rico!
I LOVE!!! Thanks for sharing the DIY!!! I might make an attempt!
Thank you for sharing this. I saw the images from the show earlier this spring and new this was how I wanted to do my hair for my wedding. Though its not till end of 2013 its a beach wedding. Thank you for helping me figure out how to make these.
Post a Comment
Thank you for stopping in to say hello -- it's lovely to hear from you!
j u s t a f e w t h i n g s
Please note that due to the inordinate amount of spam, comments with links to other sites may not be published; all self-promotion & promotions of give-aways on other sites will not be published; additionally, please include your blog address in the box provided, and not in the body of your comment.
Thank you xo